Part 3: Terraform - Installation
This is the third installment (pun intended) in the Terraform series.
If you haven't seen the first two parts and would like to read them:
In this post, we will describe how to install Terraform on Mac, Windows, and Ubuntu operating systems.
MacOS
The most straightforward way of installing terraform on a Mac is to just download the binary file and copy it in to /usr/local/bin/
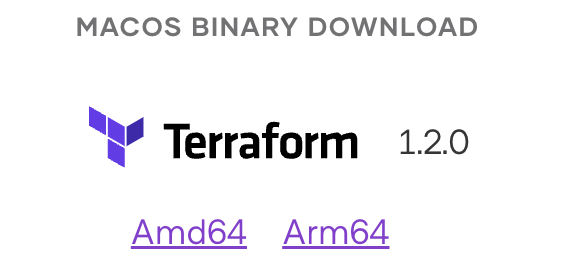
Download the binary specific to your processor type from Downloads | Terraform by HashiCorp
If you're going to run terraform on the M1 chip Mac devices, get the arm64 image. Otherwise, grab the amd64 version of the binary.
You will have a zipped file downloaded:

- Extract the downloaded file and you will have the binary file

- From your terminal application, navigate to the directory where this binary file is located. Move or copy it to /usr/local/bin/
~ $ cd Downloads
~/Downloads $ cp terraform /usr/local/bin/- On terminal application type terraform and hit enter. You should now see an output like this:
~/Downloads $ terraform
Usage: terraform [global options] <subcommand> [args]
The available commands for execution are listed below.
The primary workflow commands are given first, followed by
less common or more advanced commands.

Main commands:
	  init          Prepare your working directory for other commands
	  validate      Check whether the configuration is valid
	  plan          Show changes required by the current configuration
	  apply         Create or update infrastructure
	  destroy       Destroy previously-created infrastructure

All other commands:
	  console       Try Terraform expressions at an interactive command prompt
	  fmt           Reformat your configuration in the standard style
	  force-unlock  Release a stuck lock on the current workspace
	  get           Install or upgrade remote Terraform modules
	  graph         Generate a Graphviz graph of the steps in an operation
	  import        Associate existing infrastructure with a Terraform resource
	  login         Obtain and save credentials for a remote host
	  logout        Remove locally-stored credentials for a remote host
	  output        Show output values from your root module
	  providers     Show the providers required for this configuration
	  refresh       Update the state to match remote systems
	  show          Show the current state or a saved plan
	  state         Advanced state management
	  taint         Mark a resource instance as not fully functional
	  test          Experimental support for module integration testing
	  untaint       Remove the 'tainted' state from a resource instance
	  version       Show the current Terraform version
	  workspace     Workspace management

Global options (use these before the subcommand, if any):
	  -chdir=DIR    Switch to a different working directory before executing the
	                given subcommand.
	  -help         Show this help output, or the help for a specified subcommand.
	  -version      An alias for the "version" subcommand.
That's it. We have terraform installed on a Mac.
Read through the options for a minute to start becoming familiar with what is available. Notice the init, plan, apply, and destroy commands we discussed in previous posts as well as a lot more knobs we will utilize.
To see terraform's version, type
/ $ terraform -version
Terraform v1.2.0
on darwin_arm64
To see which binary of terraform is in effect, type
$ which terraform
/usr/local/bin/terraform
To see the PATH variable on your machine, type
$ echo $PATHYou should see the /usr/local/bin/ directory listed which tells you that you can call terraform from any directory on your machine and not just where the binary lives.
Windows
Again, the installation process on a Windows computer is also straightforward.
On a Windows machine that doesn't have terraform installed, open command prompt, type terraform and hit enter. You should see a command unrecognized error.

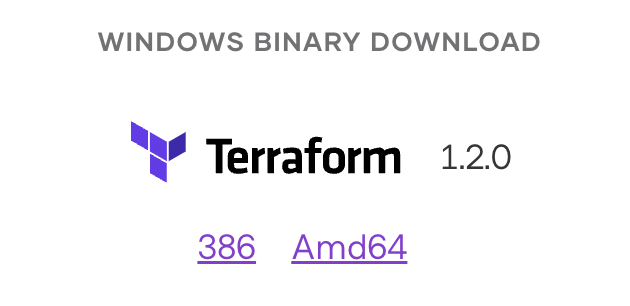
From Downloads | Terraform by HashiCorp download the executable that matches the processor in your computer
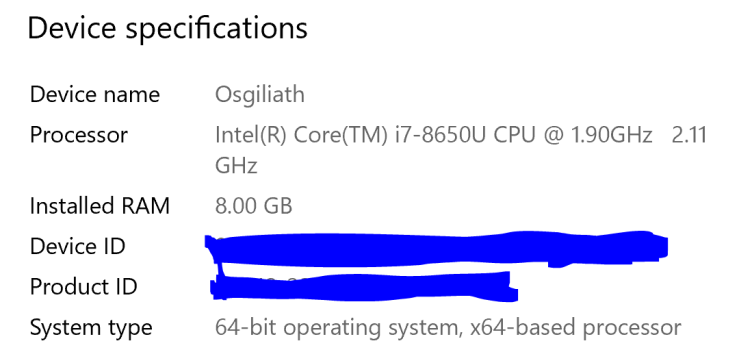
If you are not sure whether your processor type is i386 or Amd64, simply search for "Settings" in Windows menu. Then "System > About" will get you what you need.
If it says x64-based processor, download the Amd64 version.
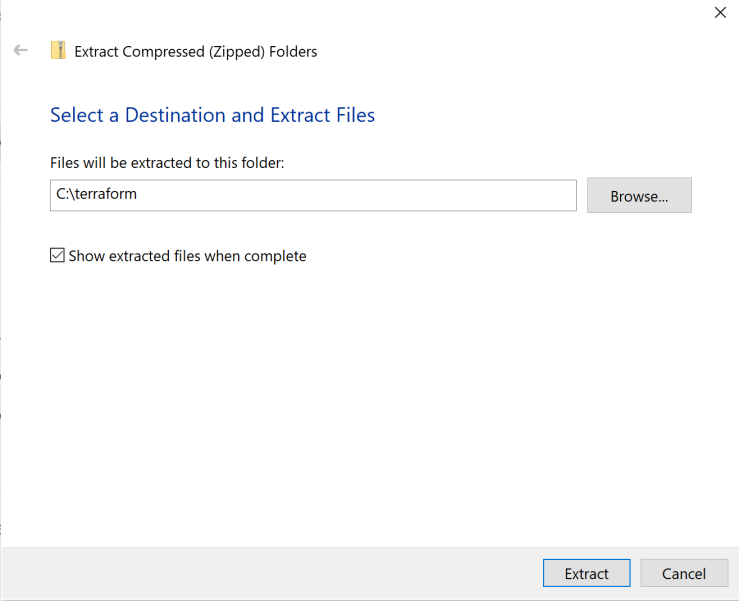
Locate and extract this downloaded file to C:/terraform folder.
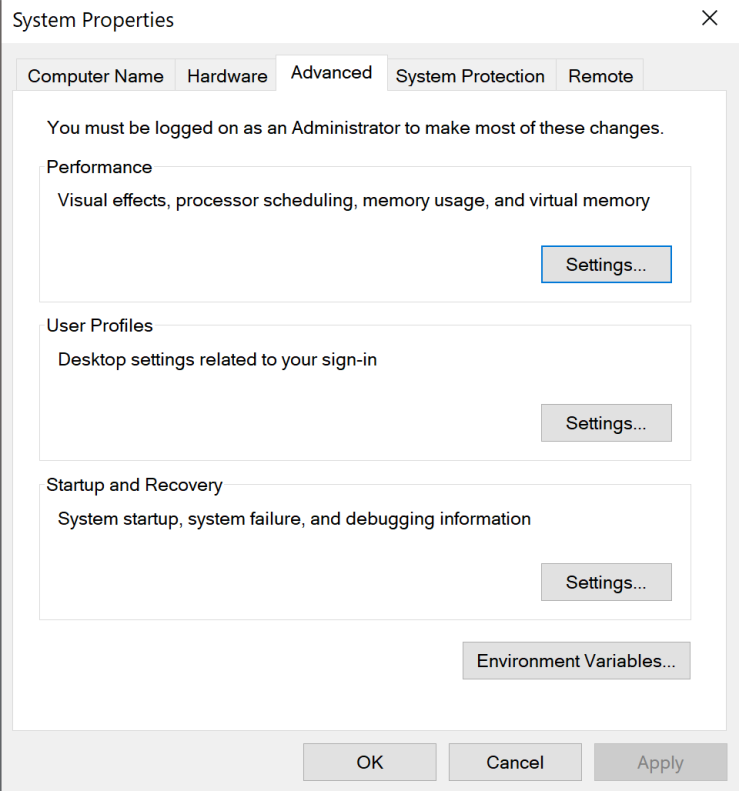
In the Start menu, search for "environment variables" and click "Edit the system environment variables" option.
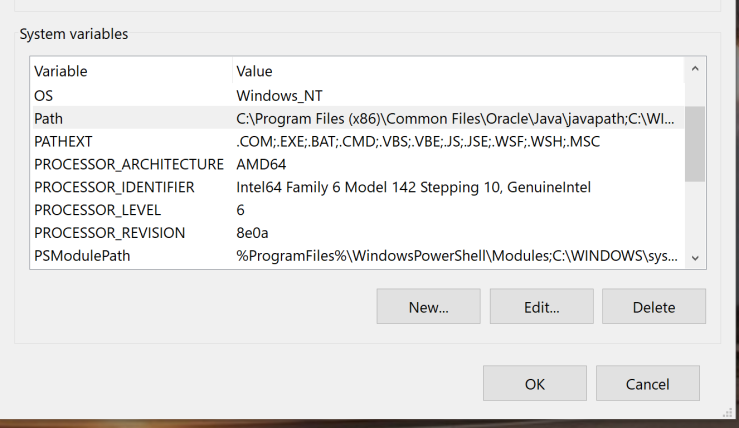
Click on the "Environment Variables" button to open the settings window
Under "System variables" look for Path and click Edit
In the window that pops up, click New to add a new line
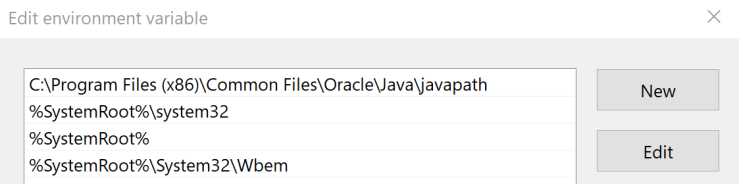
Add New line "C:terraform" to the list.

Click OK a few times and exit out of environment variables.
Open a new command prompt, type terraform, and hit enter.
You should see something like this
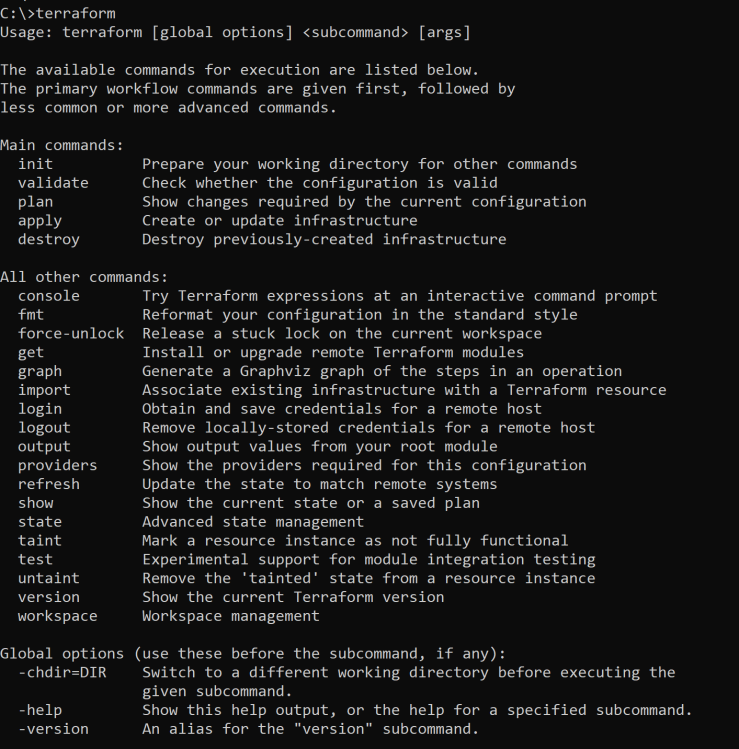
Take a minute to read through the options. The init, plan, apply, and destroy commands we talked about in previous sections of this series as well as a lot more knobs now exist.
Type terraform -version

Ubuntu
Whether it is Terraform or another application, personally I do not like elongating my repositories list just to achieve a one time install and trusting keys permanently.
For installation on Ubuntu, what I recommend is to
- download the zipped Linux binary file from the HashiCorp site
- extract it
- check your PATH variable with echo $PATH, and
- Move or copy the binary file to /usr/local/bin/ directory by following the steps we used in the Mac installation section above.
Alternatively, to install Terraform on Ubuntu directly from the HashiCorp repository, make a new directory named terraform under /opt.
mkdir /opt/terraform
cd /opt/terraform
Run the curl command to trust the HashiCorp key and for package authentication.
curl -fsSL https://apt.releases.hashicorp.com/gpg | sudo apt-key add -Add the HashiCorp repository to your system.
sudo apt-add-repository "deb [arch=$(dpkg --print-architecture)] https://apt.releases.hashicorp.com $(lsb_release -cs) main"Install terraform using apt install
sudo apt install terraformOnce installation completes, issue terraform command. You should now see the terraform options and switches in the output.
At this point, we have the software ready on our systems.
In the next post, we will interact with configuration files and learn the syntax on how to write them.
Tags: terraform
← Back home